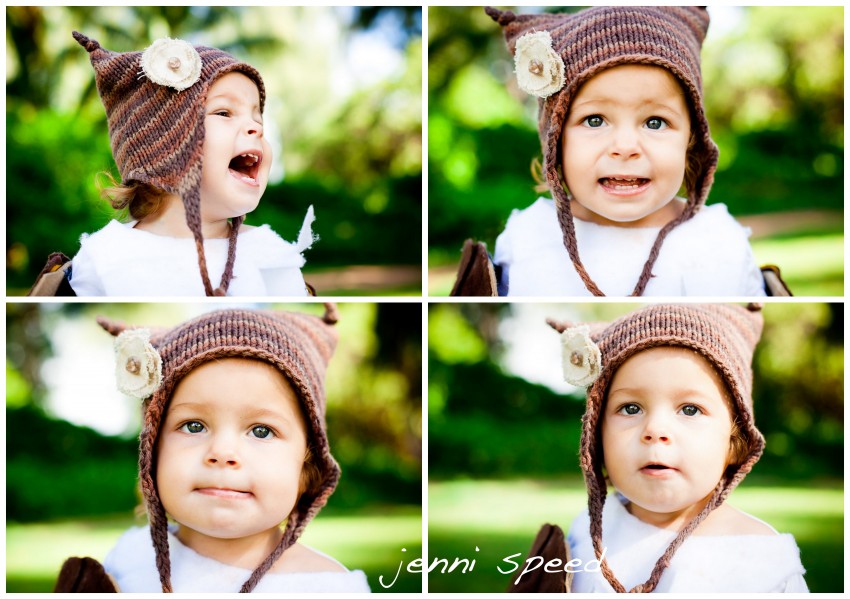
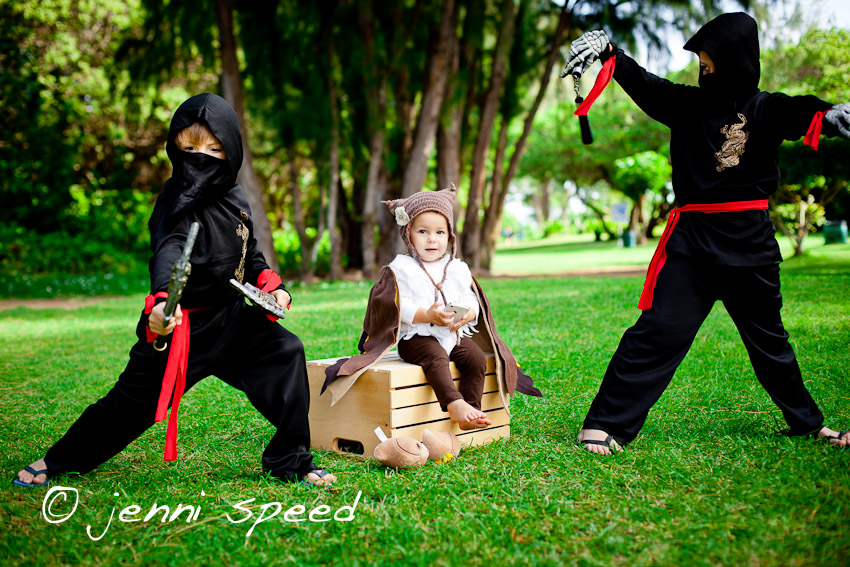
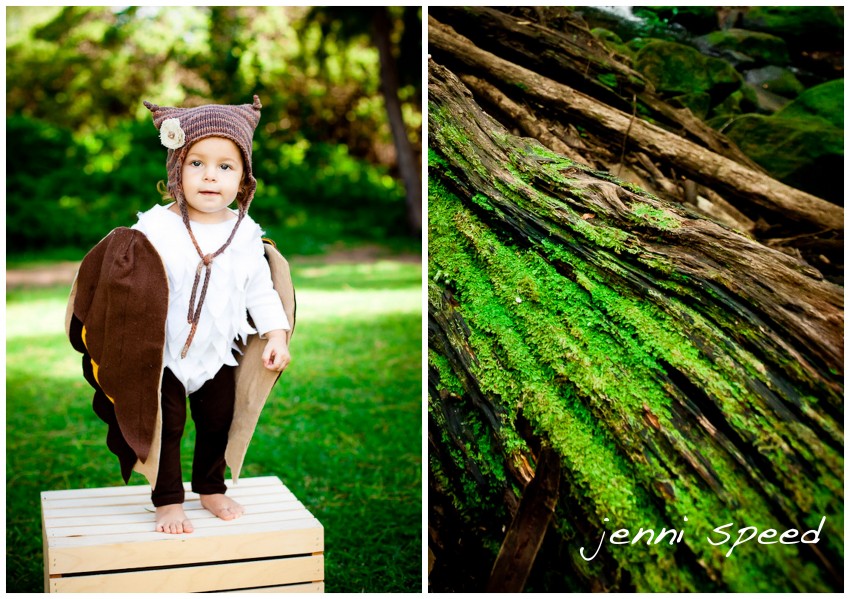
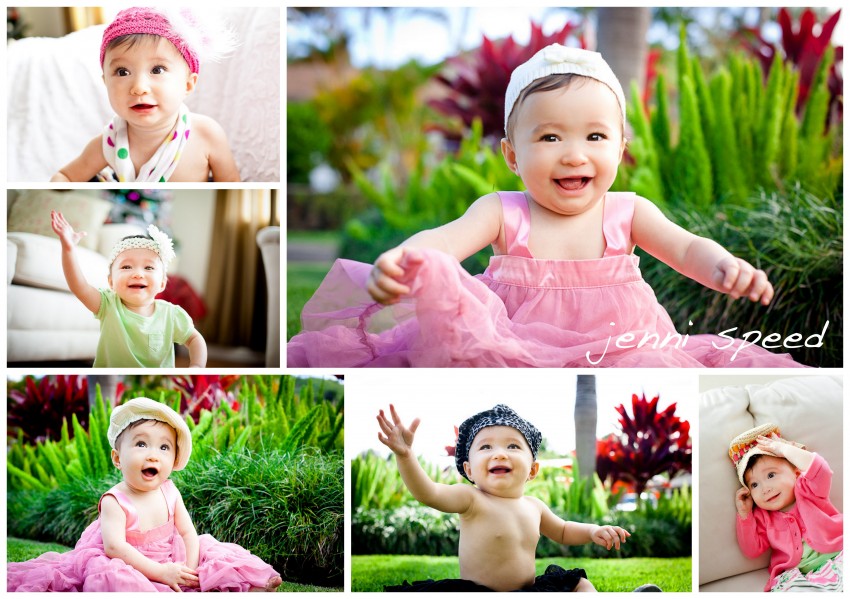
4 Tips For GREAT Halloween Photos!!!
October 31, 2011 | Filed Under Children, Events, Fashion/Commercial | Comments Off on 4 Tips For GREAT Halloween Photos!!!
Here are some tips for taking better Halloween photos:
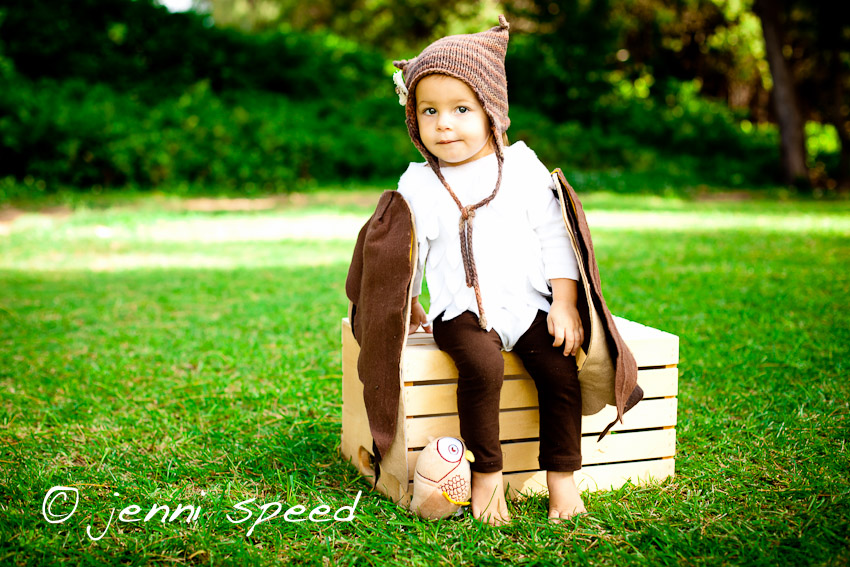
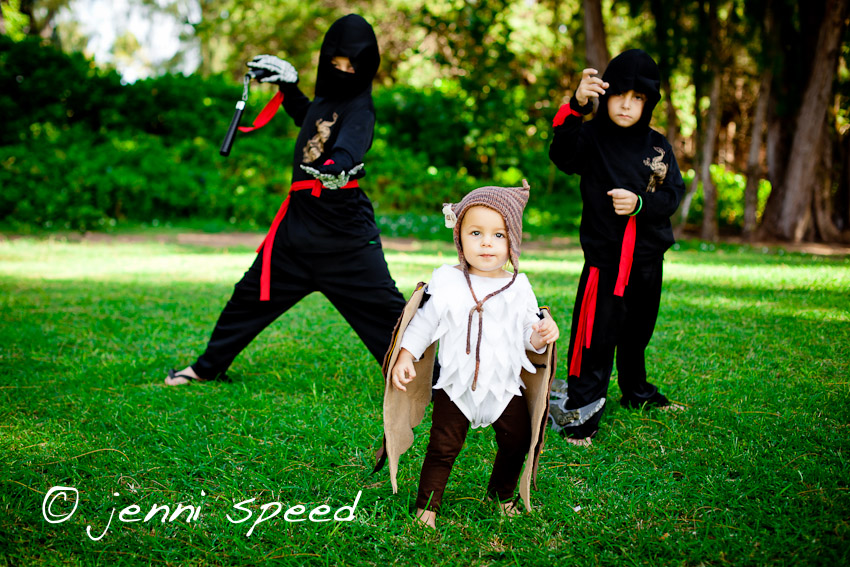
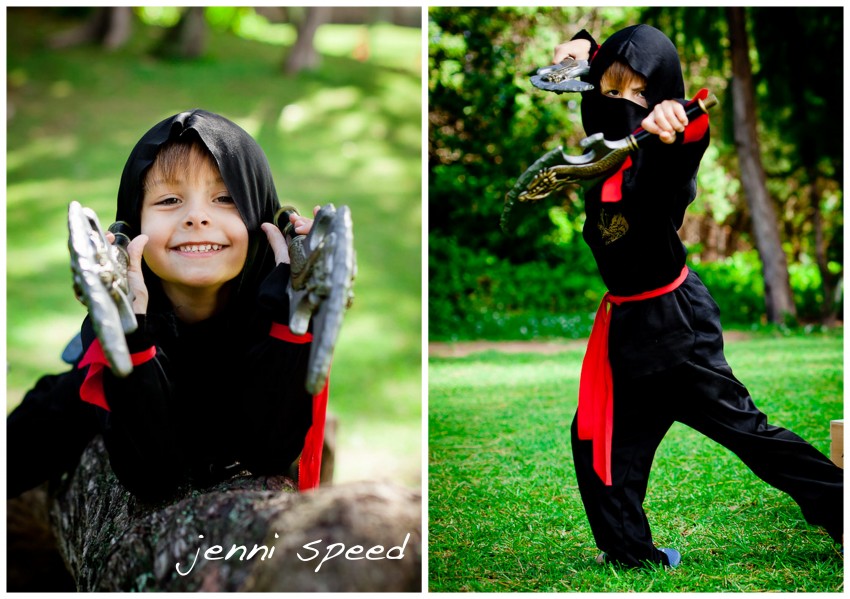
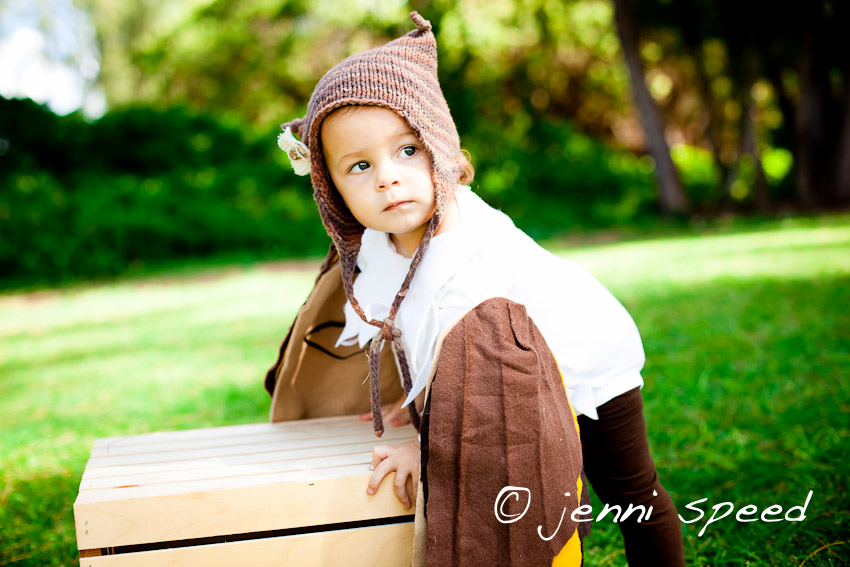
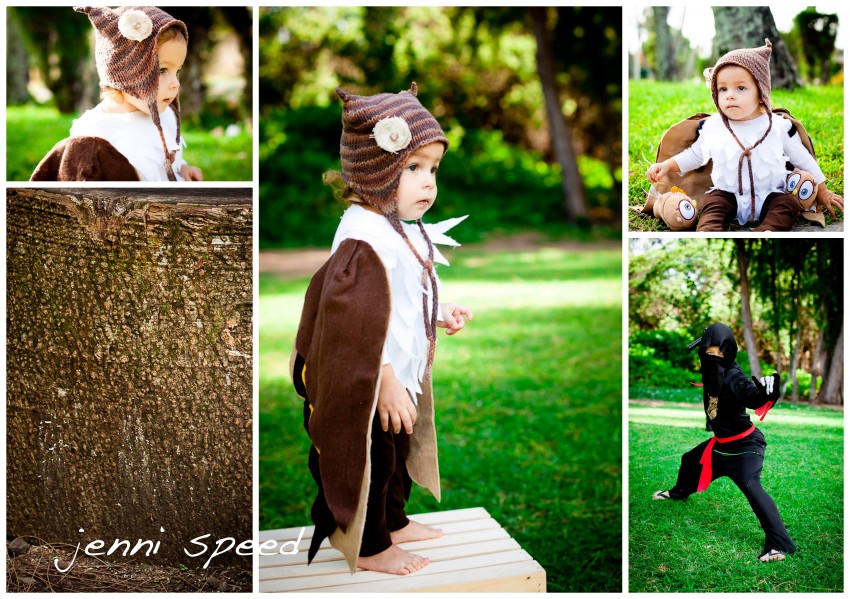
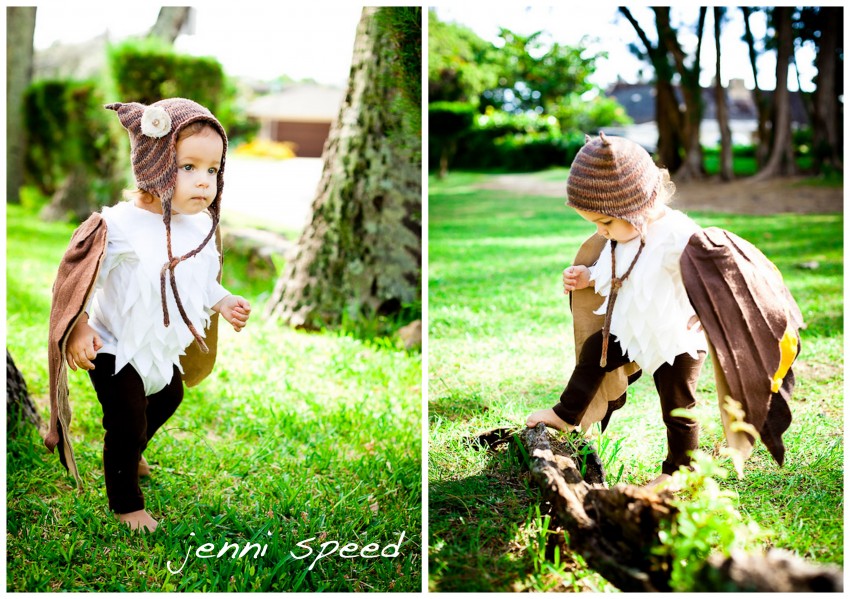
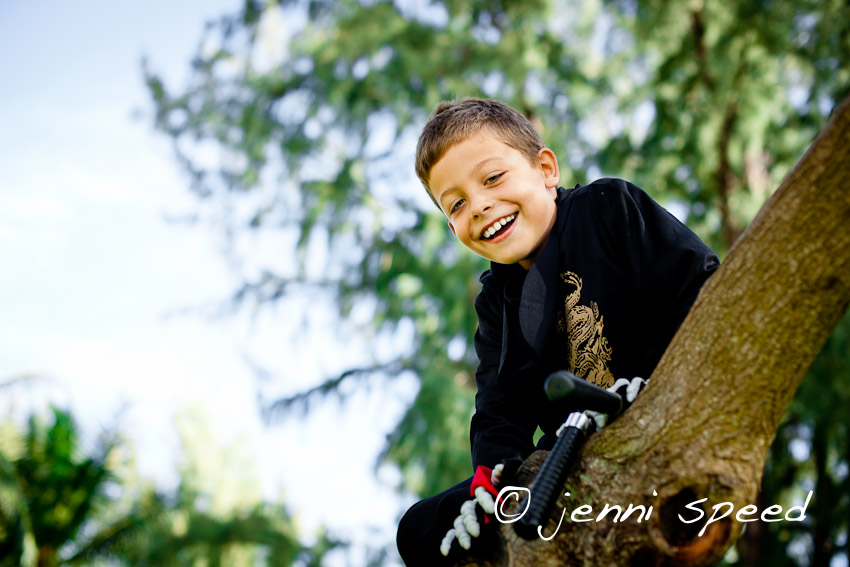
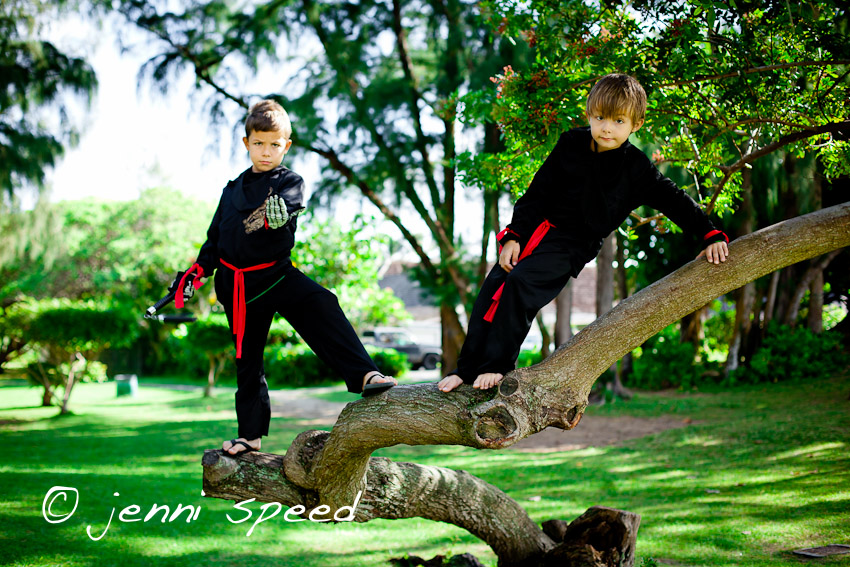
- Choose to take photos during the daylight hours. This way you know the light will be beautiful & you won’t have to worry about yellow indoor lighting or harsh flash.
- Set aside a time specifically to take pictures away from major costume wearing events. This eliminates impatience & many distractions.
- Take your children’s Halloween pictures before the succession of parties begin. This gives you crisp, clean costumes to work with. It’s sad to wait until all the festivities are over to suddenly get in a quick photo. With my kids, usually something is torn, pieces are lost, stains and stickiness cover their costumes…and my little one is sick of wearing hers, so keeping a hat or bow on is out of the question.
- Halloween nights are long and exhausting (although fun) and kids are not in the mood to take pictures at the end of a long, stimulating night. So try to avoid being ‘photographer’ when your children are tired and cranky. Always better to do it early in the evening (or during the day). Or just try again the next day, even though it may require the extra effort of dressing up again, the happy smiles will be worth it.
I hope these little tips help you as you are planning your Halloween. Take your photos early, during the day & in a place that won’t tempt your child to run away from you for something more fun…like the next door to knock on.
TRICK-OR-TREAT!
How to Photograph Your Baby Laughing
October 22, 2011 | Filed Under Baby, Children | Comments Off on How to Photograph Your Baby Laughing
My daughter just turned 16 months old and is really starting to develop a super fun sense of humor. Lately she’s taken to throwing a blanket over her head at any given moment and transforming into a ghost. When she runs into the walls and furniture like a pin ball machine, she thinks it’s so funny. We all do!
Here are some fun ideas on how to photograph your baby laughing.
TIP 1: Ages 1-2 years old tend to love slapstick humor. Try putting a banana on your head, or a diaper…or anything that doesn’t belong. For little “S” the magic was all in a plastic bag. She couldn’t keep her eyes off it & loved when we danced around silly with it!
TIP 2: Peek-a-Boo is a favorite game for young & old babies alike. I played this game with Avery to get her to relax and really warm up to me:
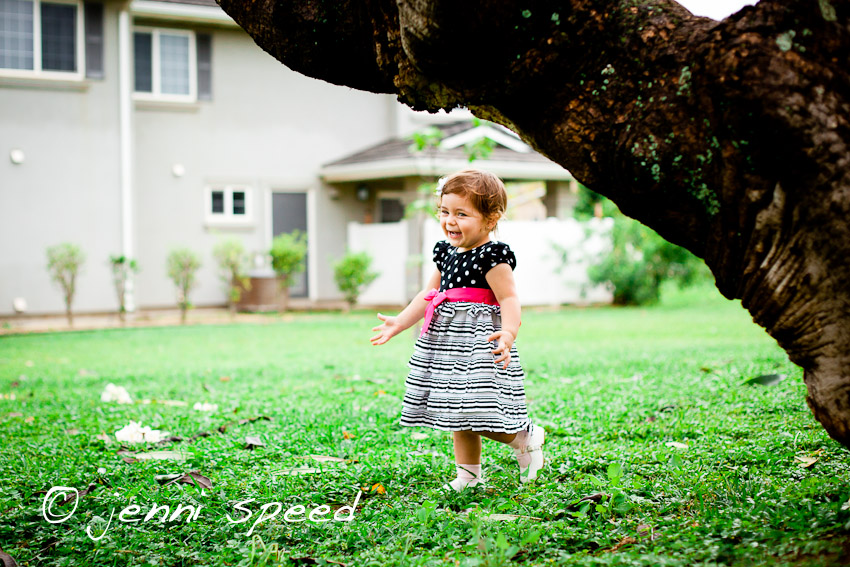
TIP 3: The Chase. When ever I say, “I’m gonna get you!” my little one immediately runs away laughing…in the opposite direction. So if you plan ahead, and get another adult or older child to give chase, you can be ready at the other side of the room when your baby turns and heads in your direction…laughing with excitement. Below, I was fortunate to have parents helping me with our fun game so when Olivia came running out from behind the tree, I was ready for her adorable smile.
TIP 4: Tickle. It never fails.
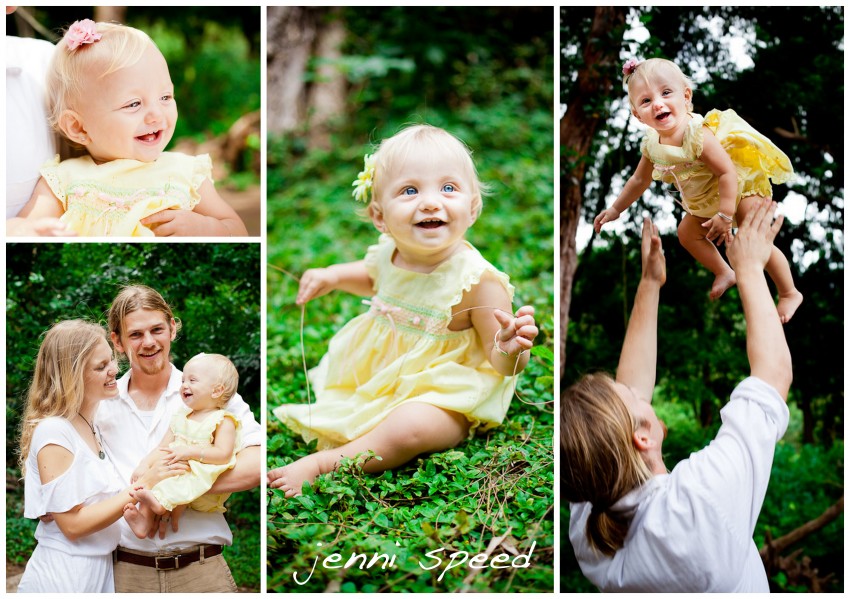
TIP 5: Swing & Throw. I love to get dad to throw his little one up in the air. Instant smiles all around. Sweet Scarlet also loved the 1-2-3 SWING game.
TIP 6: If you have older kids too, use them! Siblings can be the best helpers. One day my boys and I were at the park & created this happy moment simply by making silly animal sounds (& hopping like a bunny):
Then I handed the camera to my 4 year old and he took these:
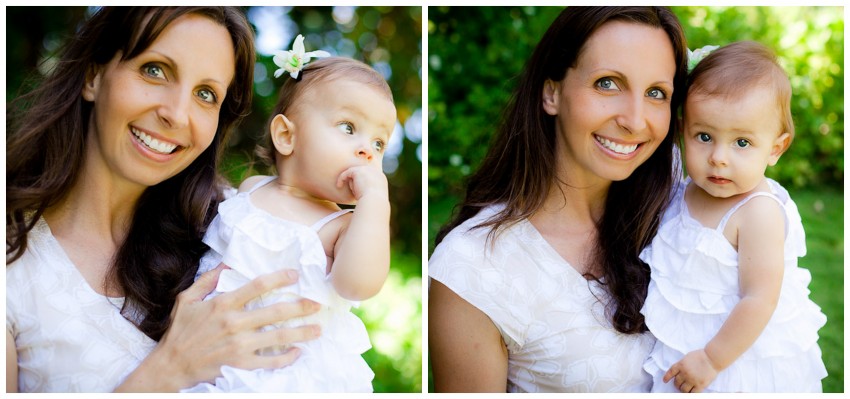 Pretty amazing! I might have a little photographer in the making.
TIP 7: By trading places with your older children & occasionally letting them do the photographing, they will be more engaged and want to be apart of your picture-taking adventures.
Remember to make picture taking a fun, light-hearted attempt. Kids of all ages respond best to fun, games & silliness rather than scolding & bribing to create the right pose or expression. Your pictures will almost always turn out better if you laugh along with your little ones. This is also the first step in turning your photo taking into memory making!
My Little Girl
September 14, 2011 | Filed Under Baby, Children | 1 Comment
I am sure all of it will change very soon, but for now I love being the center of her world!
She certainly is mine.
3 Steps To Make Eyes POP In Lightroom!
September 7, 2011 | Filed Under Children | 3 Comments
Recently, a good friend of mine has been calling from the Mainland with a lot of questions about Lightroom. Since I love my dear friend, Jen (who’s about to have a baby any day now), I thought I’d write this post for her. Sometimes it’s easier to understand by seeing than via phone or text:)
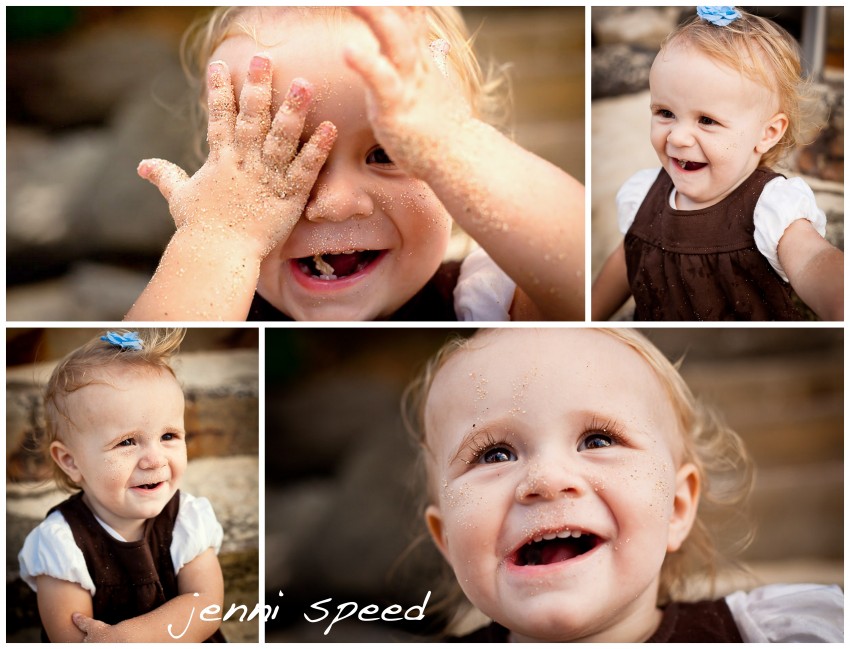
To really capture the magic of a portrait, you must be aware of light. Using light the right way is key in photography…and in my opinion, the most important thing! When taking a portrait, I am always aware of the direction the light is coming from. I look for the “catchlight” in the eyes. What is catchlight? It is the sparkle, the gleam, the reflection of light that makes the eyes shine. When you capture that catchlight just right, it can really add the WOW factor to a portrait. Of course, I never forget about expression, posing, background, etc. But light, and the way you use it to your advantage, is always number one.
Once the catchlight is effectively captured in camera, then you can move on to the next stage…Lightroom. There are so many programs out there to help with post-processing, but since I use, and love, Adobe Lightroom 3, I will explain how I use it to make eyes POP. (Pioneer Woman also wrote a great little article about making eyes POP in Photoshop.) Remember though, it’s more important to capture the right light in a subject’s eye ‘in camera’ than to try to add it later in post-production. That is the best way to truly capture beautiful eyes.
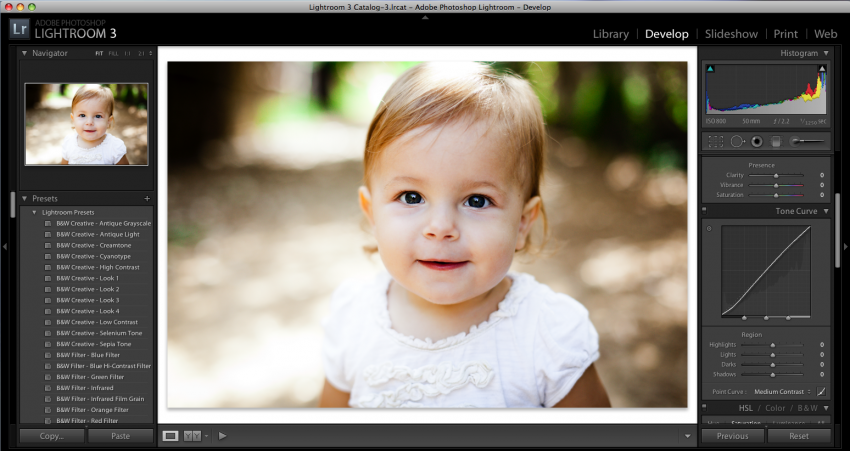
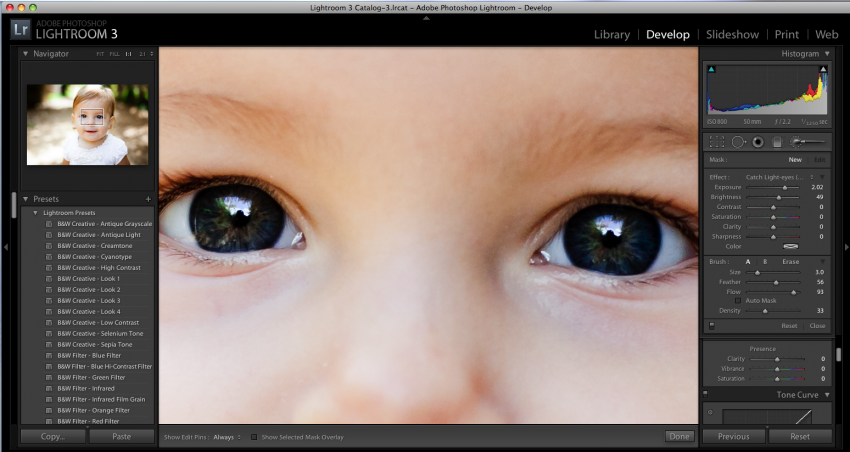
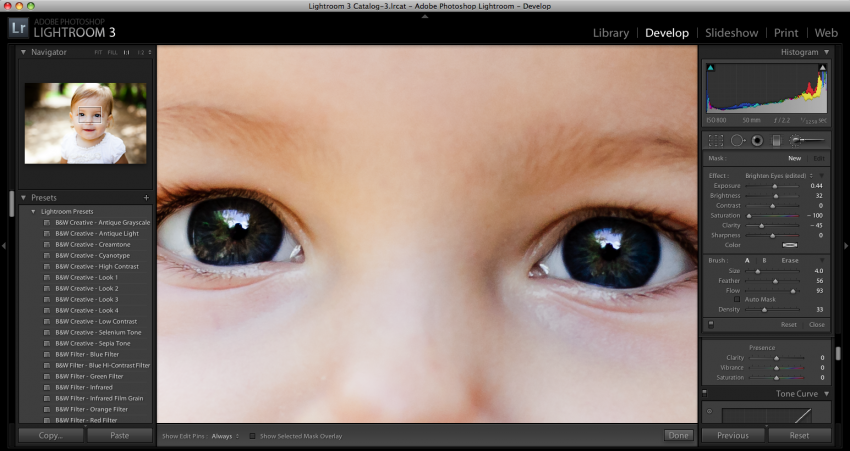
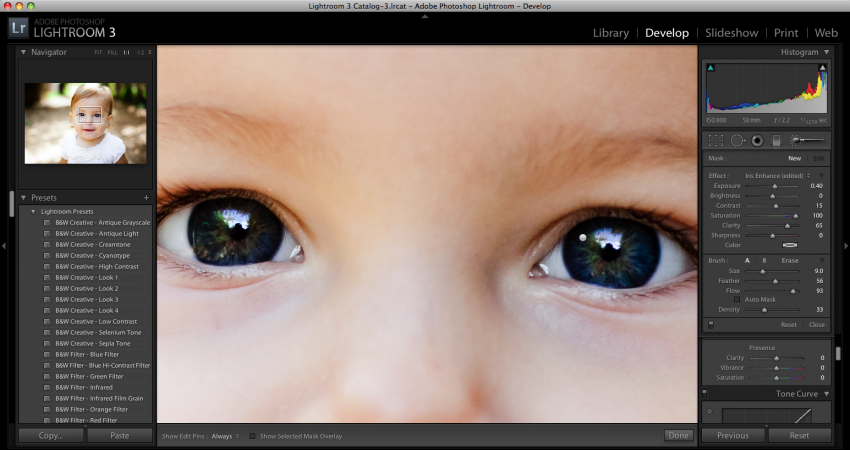
To make eyes POP in Lightroom, I do a couple of key adjustments using the Adjustment Brush (k) in the top right corner of the Develop Module.
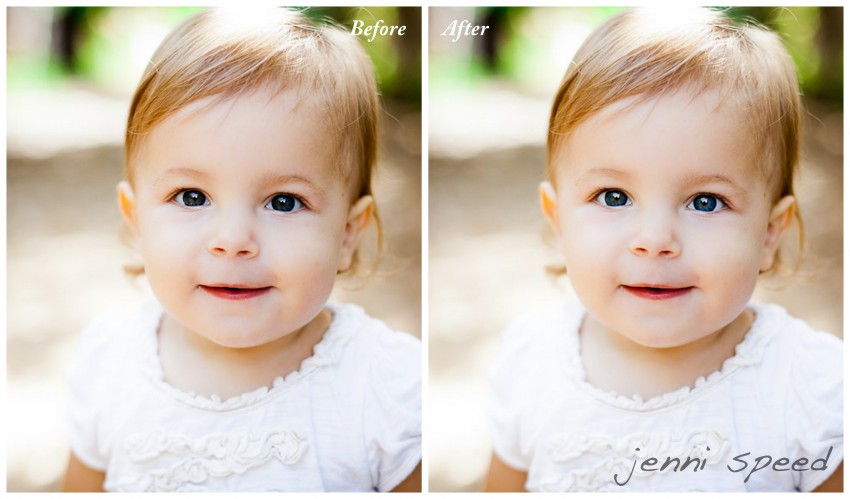
Above is my BEFORE photo, which is great by itself. The catchlight is actually quite bright. But let’s make it POP a little more in only 3 steps.
1-Enhance the catchlight in each eye. To do this, I zoom in to 1:1 so I can see the eyes up close. Then I set the brush exposure: 2.00, brightness: 50. Paint with the brush only over the natural catchlight in each eye. I have these settings saved as an Adjustment Brush preset as “catchlight.” Zoom out to make sure it looks right. You don’t want to over do it here so if it looks wrong, shave it down a bit or decrease the exposure.
2-Brighten the whites of the eyes. Zoom in, then set the brush exposure: .44, brightness: 32, saturation: -100, clarity: -45. Paint with the brush over the whites of the eyes. This will brighten them up as well as reduce any redness. (BONUS-sometimes is makes a huge difference to take down the redness just below the bottom lashes too. Just set saturation to -30 and sweep along bottom of eyelashes.)
3-Enhance the irises. This is optional and I don’t often need to enhance the iris, but it can be useful. Set brush exposure: .40, contrast: 15, saturation: 100, clarity: 65. Paint over the irises in each eye. Adjust exposure to taste. You can also add color at this point.
That’s it! Your portrait will now have a stunning WOW factor with enhanced catchlight in the eyes.
You can see below that the difference is subtle, but it does add the right amount of sparkle.
Hopefully this helps, Jen. Good luck with Lightroom…and your new baby!


